|
Both these pieces were sculpted by Tom 'Vance T' Rudzinskas, which he was
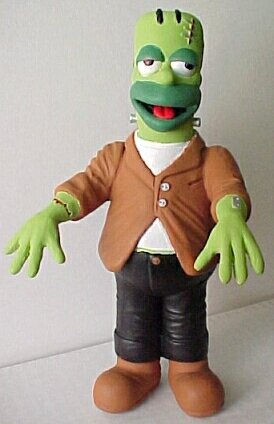
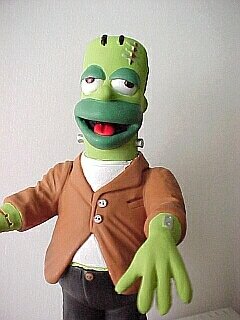
nice enough to give me at the April 2001 CHILLER THEATRE Expo. Now I'm not a big 'Simpsons' fan. Last thing I thought society needed was a well-liked little brat named Bart. But I do like the cartoon style of the show! Nice clean, simple lines which convey a wide range of emotions easily. And since the 'Frankenstein Monster' is my all time favorite, got a kick out of Vance's interpretation!!
 Cleaned all the parts using Simple Green & a toothbrush to wash off the mold release agent. Dried them off and let sit for a spell.
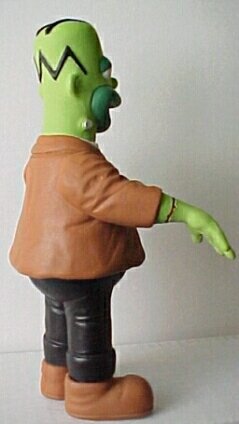
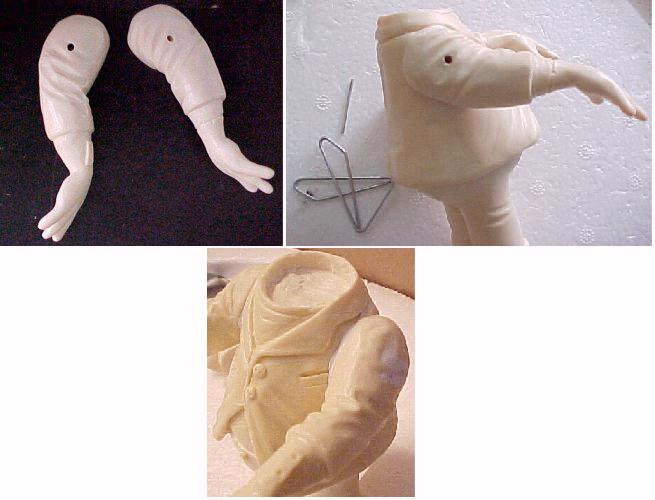
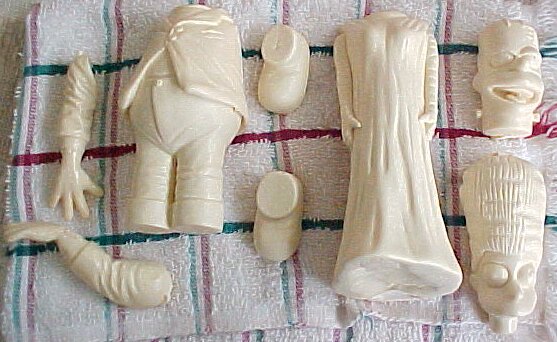 There were quite a few casting stubs that had to be Dremelled off, and a few seam lines that were easily removed using the back of my Xacto Knife & the Dremel. Once that was done and everything looked good, I drilled a hole through both arms, and the bottom of his legs. Glue the arms to his body, and then extend the holes already through his arms, into the body. Then using a large butterfly paperclip, snipped off a length and inserted it in the hole with SuperGlue. My trusty Milliput is used to putty up the hole as well as sealing around the upper arms where they meet the body.
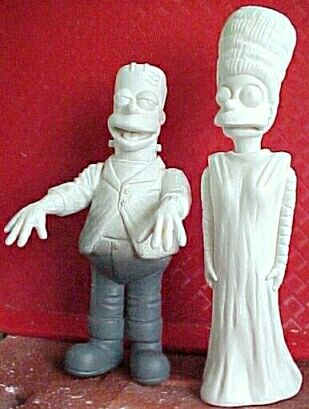
 Taking a small wad of Milliput, roll and flatten it out to the size of a quarter and press it into the neck stump. Apply Superglue on top of the putty and some on the bottom of Homer's head, and attach the two. Decided not to pin the shoes to his legs, and simply Superglued them on. Finish up by glueing Marge's head to her body and let both figures dry. Prime both with Krylon's White Primer. (which I ran out of, so had to finish Homer up with the Sandable Gray! - Note to self...!! hee!)
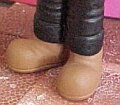
For around the mouth and eyelids, a dark Leaf Green is used. Jacket and shoes I used Anita's Moccasin Brown.
 Then finish up painting the inside of the mouth, Black, tongue, Red, Silver on the stiches & buttons White.
 I was somewhat surprised to realize that I haven't
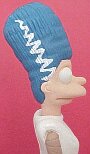
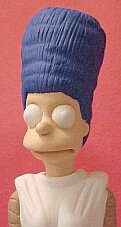
built & painted up a BRIDE kit since the first Aurora kit came out all those years ago!! So I wasn't sure whether her facial
features were flesh tones or grays or a combination of the two?! I was somewhat surprised to realize that I haven't
built & painted up a BRIDE kit since the first Aurora kit came out all those years ago!! So I wasn't sure whether her facial
features were flesh tones or grays or a combination of the two?!Also need to refresh the old memory on the white streak going up through her hair. So did some reference hunting.
Kept the hair her normal blue, using Palmer Prism Baltic Blue, and Delta Ceramcoat Light Chocolate for her arms. A dark Brown Prismacolor pencil used on the lines between the bandages. For the eyes used a Sanford Black Sharpie. Apply a White streak on either side of her hair-do.
 Simple & straighforward to put together and paint up... it was just what the doctor ordered!! Enjoyed the hours spent on them and would like to thank Vance for some very nice kits!!
Happy Modeling! - Buc (Sept 01')
Work Bench
|
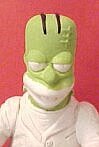 Start off with Palmer Prism Raven Black and paint in his hair strands and pants. Using Anita's Green Apple, paint up his head, face
 and hands, with a skiny line on his belly, between his t-shirt and pants.
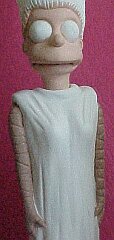
 For our favorite Marge, here, decided on a light flesh tone, using Anita's Blush.