|
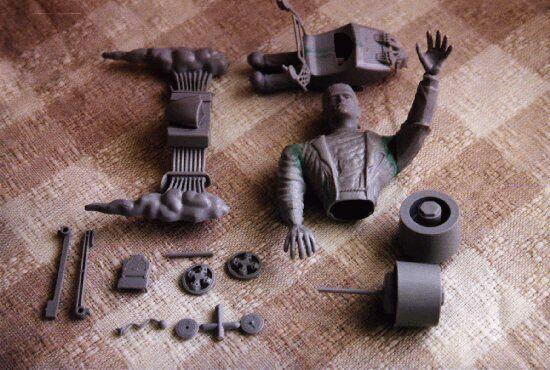
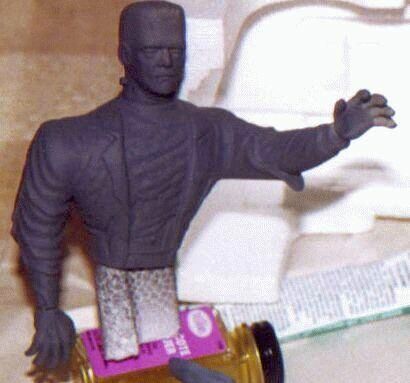
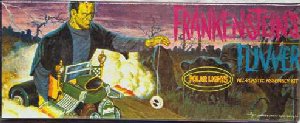 POLAR LIGHT's "Frankenstein's Flivver" was the first model I've started since getting back to modeling. A pretty straight forward model, and wanted to start with something like this to get me back into building kits after a nine year hiatus, (although I did get sidetracked by Anakin's Pod Racer, somewhat!). In the preliminary buildup, the things to watch out for are: 1.) Frankie's Right Arm... After I glued it on, I test fitted the body to the car, but it wasn't til I test fitted the back right wheel, that I discovered his arm was back to far. You want his arm slightly forward in order to hold the stick shift. Do a test run...before glueing his arm on, place Frankie on the car and slide the axle on the right wheel. Place the wheel on the car and then judge the angle of the right arm. Can even take the stick shift off the sprue and line everything up at once. Mark the angle on the shoulder joint with a pencil, then you have a reference point when it comes time to glue the arm on. 2.) Legs & Engine Block... After gluing the car body, I glued his two legs protruding from the car, and let dry. Once dry, test fit the engine block by sliding it down between his legs so that the engine is flush...(use the 'Y' outline on the instructions to know how far the engine block goes down). This will spread his legs enough so that you can remove the engine block, and enable you to paint his legs later on.
Front Headstone: I used KRYLON's Sandable Primer, which is a nice dark gray, sprayed the headstone, and then while it was still nice and wet, wiped it off with a paper towel.
 Since the original mold color is light gray, the darker primer was left in the depressions, and I 'dabbed' the paper towel along the sides and top, giving it a 'stone' look. Gargoyle Face: Again, sprayed it with KRYLON's primer, and then used a black 'wash' to bring out the details. I should have done the same thing with this as I did with the Headstone... think it would have looked more stone like if I had just wiped off the dark grey primer. Oh well! Frankie: Jacket & pants black, with a dark blue wash. Shirt was a light purple, shoes brown, with black soles. Face and hands a mild Olive green, with a darker green wash for around the eyes & cheek bones. Silver for the staples, and a light red wash for the gash on his forehead and along his jaw bone. Car Body: First thing I did was to get some Aluminium Foil and wrapped up Frankie's legs, the windshield/spiderwebs/headlights, and the Gargoyle's head. Then used PALMER Prism SUNLIGHT yellow, with about 8 drops of HOLLY BERRY red. Thinned it down with Glass Cleaner (generic brand of WINDEX), and sprayed it on. Painted the hands on the trunk an off-white with a light coating of black wash. Front wheels...rims & center black, skulls off-white. Back wheels black, with silver inside. Engine Block: Painted Silver, with the air scoop & pipe hoods Forest Green. Typical yellow/orange/red flames and white smoke tipped with a yellow wash at the ends. Yo-Yo: Was painted using 'Baltic' Blue.
Now that everythings painted, find where you put the instructions and put it all together. Take some care when gluing on the two front supports for the front wheels. I had some slight problems with one of Frankie's legs getting in the way, which tilted one of the struts off some. What I did was let it dry, glue on the headstone and front wheels, then gently lined it up straight, and applied extra glue along the bottom of the engine block and the strut that was off alittle and held it firmly til dry. That corrected the slight off-set nicely. Cut some string, rig up the Yo-Yo, tie it around Frankie's finger, and waa-la! My first POLAR LIGHTS model is done! For finished Flivver photos go here! Happy Modeling! - Buc
|